Implementing Character Movement with Oculus Controls
Published on October 31, 2023

Welcome back to our Unity 3D VR development series! In this tutorial, we'll delve into the fascinating world of character movement using Oculus controls. Let's make your virtual environment more dynamic by allowing the player to navigate through it.
Step 1: Set Up Your Unity Scene
Open your Unity project and ensure you have a scene set up with your Oculus VR environment. If you've followed the previous tutorials, you should already have a scene with Oculus integration.
Create a flat plane to serve as the ground for your character to walk on. Import a character model or use a simple primitive shape for the player character. Attach a Character Controller component to your character for basic collision detection and physics interactions.
Step 2: Prepare the Character
Attach the OculusCharacterController script to your character. This script will handle input from the Oculus Touch controller and move the character accordingly.
Step 3: Implementing Character Movement
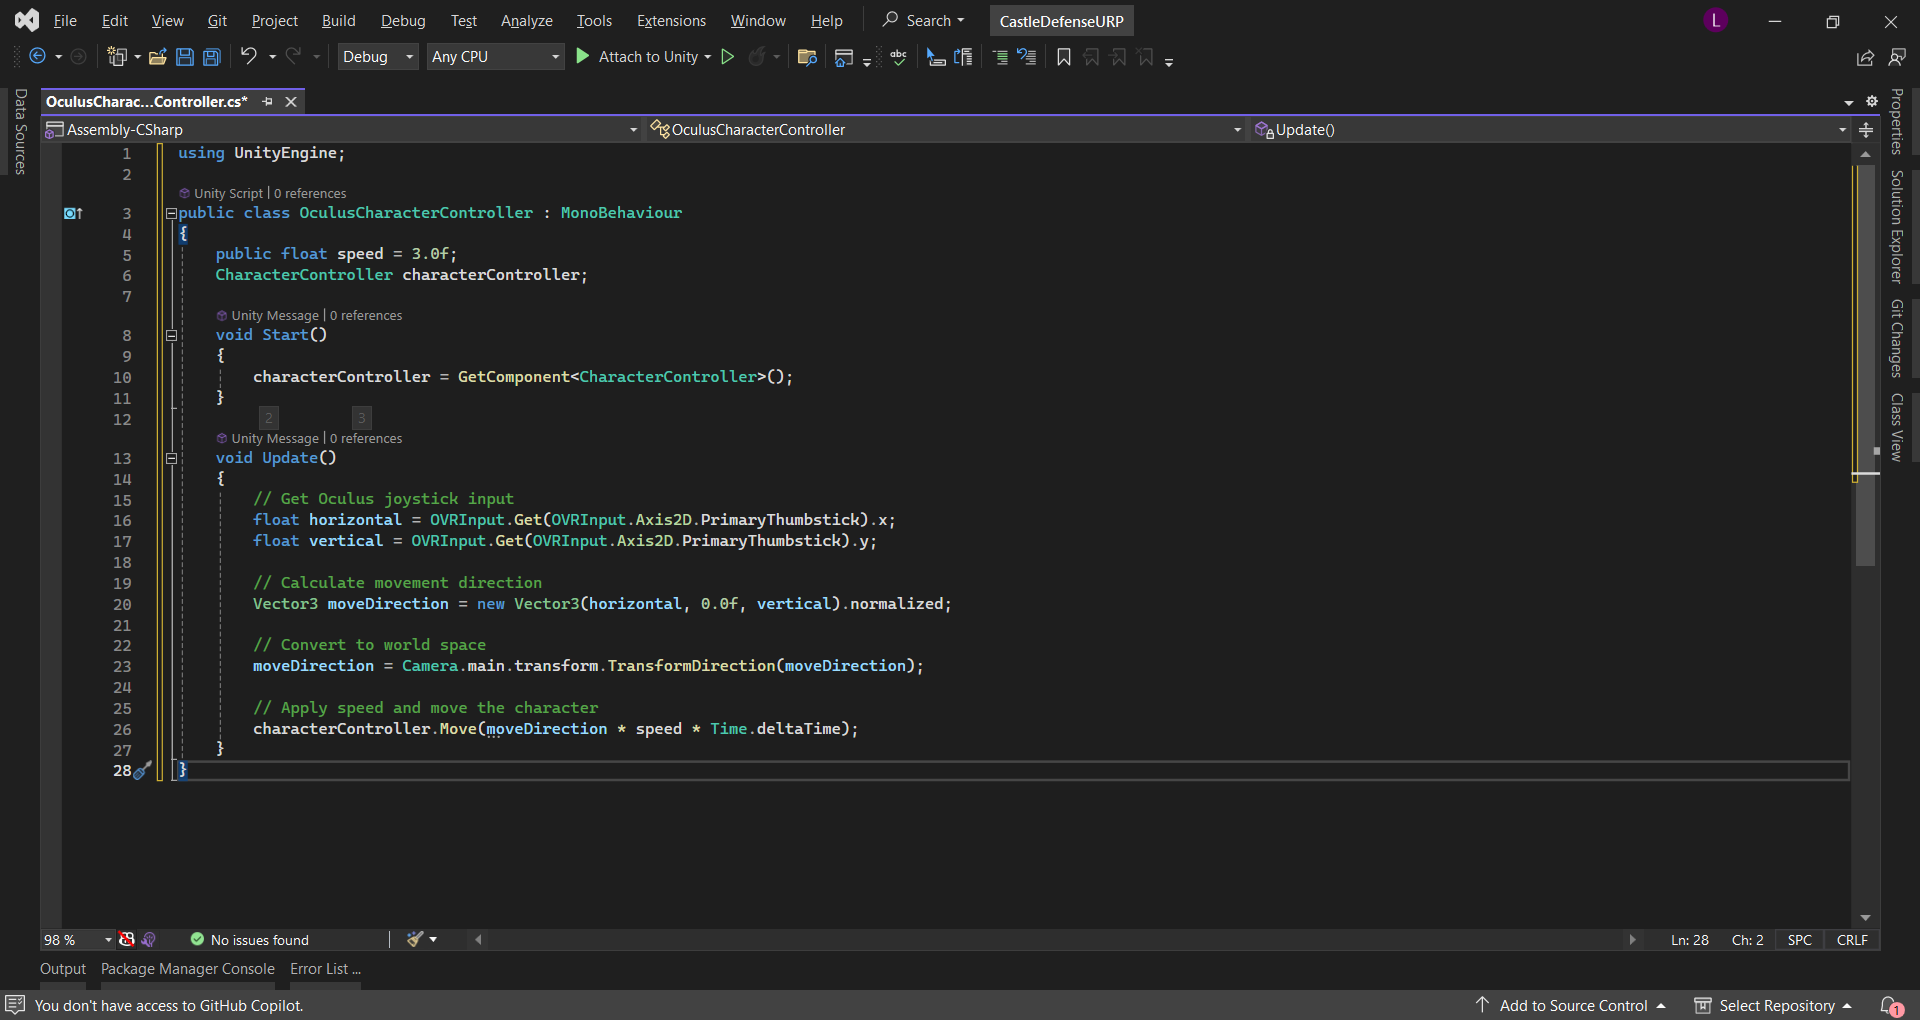
Create a new C# script in your Unity project and name it `OculusCharacterController.cs`. Open the script and implement the following logic:

    using UnityEngine;

    public class OculusCharacterController : MonoBehaviour
    {
        public float speed = 3.0f;
        CharacterController characterController;

        void Start()
        {
            characterController = GetComponent<CharacterController>();
        }

        void Update()
        {
            // Get Oculus joystick input
            float horizontal = OVRInput.Get(OVRInput.Axis2D.PrimaryThumbstick).x;
            float vertical = OVRInput.Get(OVRInput.Axis2D.PrimaryThumbstick).y;

            // Calculate movement direction
            Vector3 moveDirection = new Vector3(horizontal, 0.0f, vertical).normalized;

            // Convert to world space
            moveDirection = Camera.main.transform.TransformDirection(moveDirection);

            // Apply speed and move the character
            characterController.Move(moveDirection * speed * Time.deltaTime);
        }
    }
This script uses the `OVRInput` class to get input from the Oculus Touch controller's thumbstick. The character's movement is calculated based on this input, and the `CharacterController` is used to move the character in the virtual space.
Attach this script to your character GameObject in the Unity Editor.
Step 4: Testing in VR
Run your scene in VR mode (ensure your Oculus headset is connected). You should now be able to move your character using the Oculus joystick. Walk around your VR environment and explore!
Conclusion
Congratulations! You've successfully implemented character movement using Oculus controls in Unity. Feel free to enhance this basic setup by adding features like jumping, running, or interacting with objects in your VR world.
Next Steps
Consider expanding your VR experience by implementing features like jumping, running, or even interacting with objects in the virtual environment. Experiment with Unity's physics system to create a more immersive and interactive VR world.
Stay tuned for more advanced tutorials on VR development and Unity 3D!

